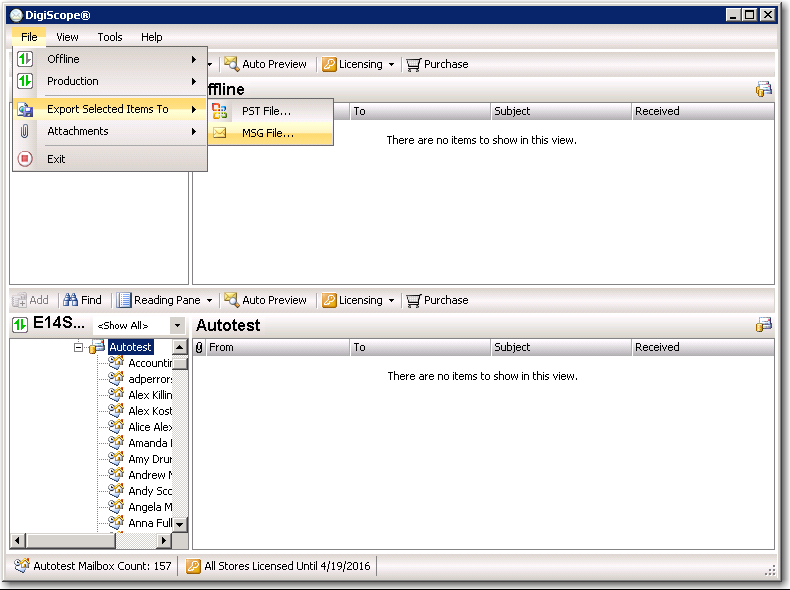
After Adding and Mounting the desired Offline source or Adding and Connecting to the desired Production source, navigate to and select the desired mailbox, folder, or items to be exported to Message (MSG) File. Then, click the File > Export Selected Items to > MSG File... menu option.

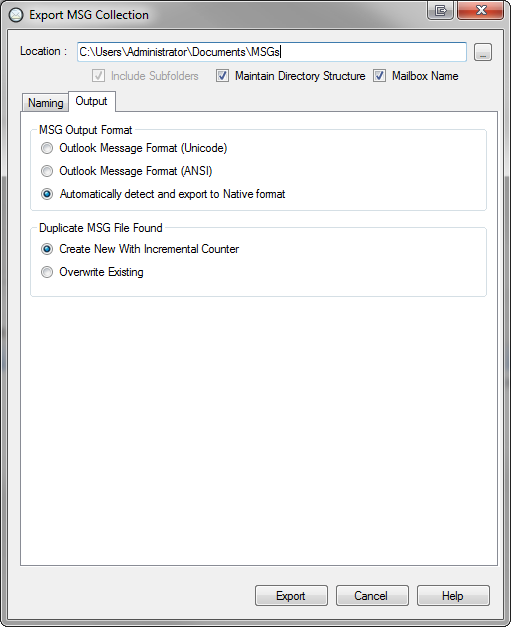
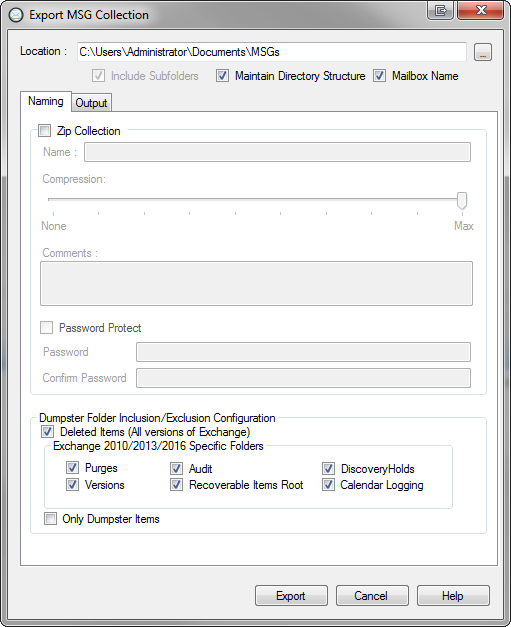
Next, the Export MSG Collection dialog is displayed. The Export MSG Collection dialog provides you with many different options to customize your exported Message (MSG) files. Once you have selected the desired options for your Message (MSG) file export, click the Export button to start the Export process.
NOTE: Click any area in the images below for a functionality description of that area.
Naming
Output

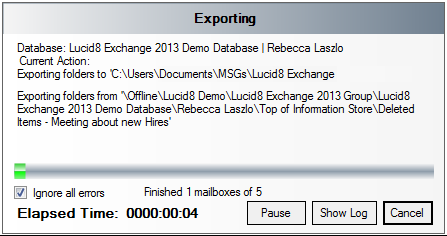
Next, the following dialog is shown where you can follow the progress while DigiScope performs the export.

