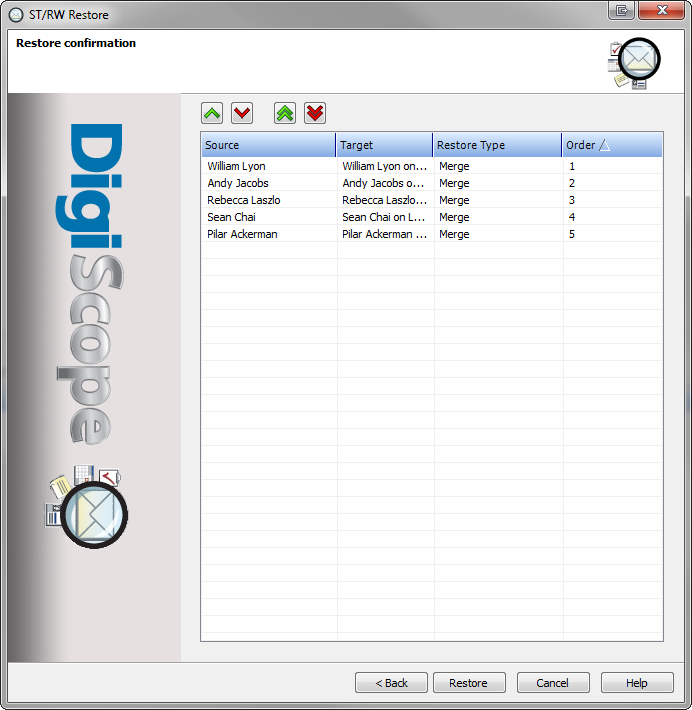
After you have completed configuring restore options for all selected mailboxes, the Restore confirmation page will be displayed. Here you can review your options, adjust the order of operations, and kick off the actual restore operation.
(Optional) You may change the order in which the mailboxes will be processed. This could be useful if some of the mailboxes are more important than others and you are concerned that you will not have time to complete the restoration now. In this case, you could move the higher priority mailboxes to earlier in the list, and then pause or abort the operation after the restoration of those particular mailboxes has completed.
To change the restore order:
Select the mailboxes in the list whose priority you want to change. (Multi-Select using CTRL+SELECT or SHIFT+SELECT)
Use the arrow buttons at the top of the dialog to move the mailbox up or down in the order.

Once everything is satisfactory, click the Restore button to start the restore process.
The Restore Wizard will connect to the target location(s) (you may need to select a profile and account at this point) and will begin to restore the selected items.
The Restore Progress page will be displayed, where you can monitor the progress of the operation.
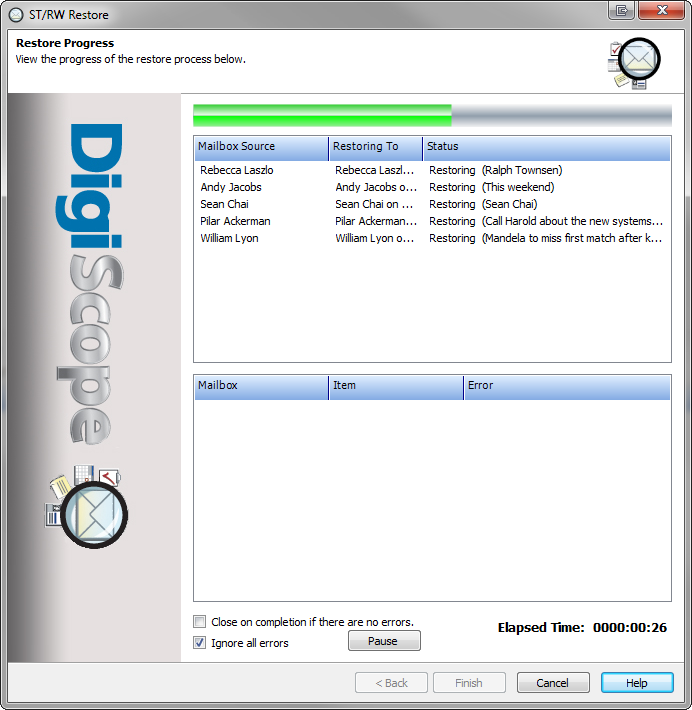
(Optional) If you would like the restore operation to stop on any errors encountered, you may uncheck Ignore all errors.
(Optional) If you would like the wizard to automatically close when the operation completes, check the Close on completion if there are no errors box.
(Optional) Click Pause to temporarily suspend the restore operation. (This can useful if, for example, the operation is causing an unexpected burden on the target Exchange server and you would like to finish the operation during office downtime.) When you are ready for the restore operation to complete, click the Continue button.
When the operation has completed, and you have reviewed any errors that may have occurred, click Finish to close out the wizard.
Continue to SingleTouch Restore