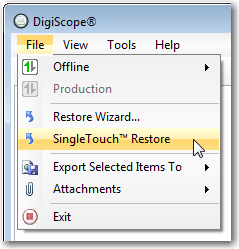
SingleTouch™ Restore recovers the selected data from an Offline source to the appropriate location within a Production server. It offers a streamlined variation on the Restore Wizard in which, if an exact GUID match can be found between Offline source and Production target, the wizard will automatically select a target. If an exact GUID match cannot be found, the Restore Wizard will run normally and allow you to manually designate a specific target for data restoration.
SingleTouch™ Restore can be executed from:
The Database Level: This will cause all mailboxes, folders and items within the Offline database to be restored to the Production server.
Specific Mailbox: The entire contents of the mailbox will be restored to the Production server.
Any Mailbox Folder: The entire contents of the folder, including sub folders, will be restored to the Production server.
Item(s) Within A Folder: The selected items will be restored to the Production server.
Search Results: All selected items from the Search will be recovered to the Production server.
NOTE: Before attempting to Restore or Export data, review the DigiScope Options Configuration Dialog to ensure that the options for the desired results are set.
NOTE: Restoration of deleted items via SingleTouch or the Restore Wizard is disabled by default to avoid unwanted recovery of items marked as deleted. So to recover deleted items via the SingleTouch or Recovery Wizard actions, you must enable this ability among the SingleTouch/Restore Wizard Options. Alternately, you may use the Drag-N-Drop functionality (which is not governed by this setting) to recover the deleted items to the desired location.
NOTE: Connecting to the Production server is not a prerequisite to perform a SingleTouch™ Restore.
After Adding and Mounting the desired Offline source, navigate to the desired mailbox, folder, or items to be restored from that Offline source. Select the desired object(s) to highlight.
NOTE: If a GUID match was not found — or if you chose to Skip >> the search — you will be taken to the Select Recipient of Restore page of the Restore Wizard. See the instructions for Manual Restore Configuration.
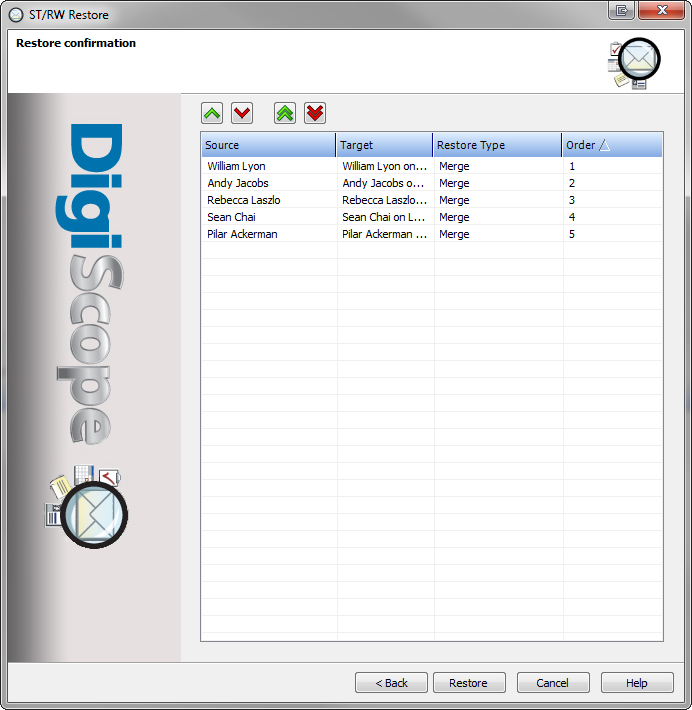
Next you can review your options, adjust the order of operations, and kick off the actual restore operation.
(Optional) You may change the order in which the mailboxes will be processed. This could be useful if some of the mailboxes are more important than others. To change the restore order:
Select the mailboxes in the list whose priority you want to change. (Multi-Select using CTRL+SELECT or SHIFT+SELECT)
Use the arrow buttons at the top of the dialog to move the mailbox up or down in the order.

Once everything is satisfactory, click the Restore button to start the restore process.
The Restore Wizard will connect to the target location(s) (you may need to select a profile and account at this point) and will begin to restore the selected items.
The Restore Progress page will be displayed, where you can monitor the progress of the operation.
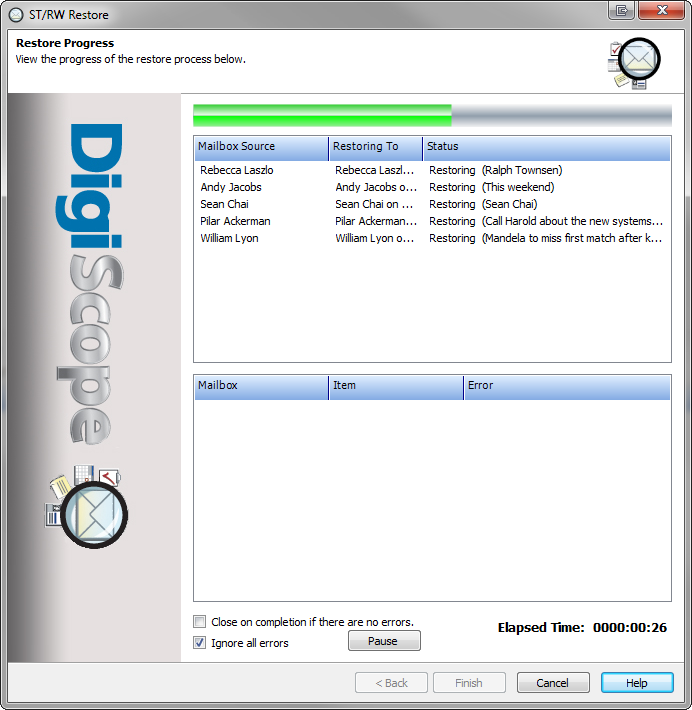
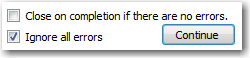
(Optional) If you would like the restore operation to stop on any errors encountered, you may uncheck Ignore all errors.
(Optional) If you would like the wizard to automatically close when the operation completes, check the Close on completion if there are no errors box.
(Optional) Click Pause to temporarily suspend the restore operation. (This can useful if, for example, the operation is causing an unexpected burden on the target Exchange server and you would like to finish the operation during office downtime.) When you are ready for the restore operation to complete, click the Continue button.
When the operation has completed, and you have reviewed any errors that may have occurred, click Finish to close out the wizard.
Continue to Restoring with Drag-and-Drop