Granting Access to Exchange 2000 and 2003 Production Databases/Mailboxes
Connecting to a production online Exchange 2000/2003 server with DigiScope requires the authenticated
user to have been granted the role of Exchange Administrator
or Exchange
Full Administrator. The steps below outline the process to grant the
group and users the required rights.
Create the DSAdministrators Group and DSAdmin Account
ATTENTION:
DSAdmin Username Change
Previous versions DigiScope utilized an account just named "DSAdmin". To better support
the different permissions requirements of different versions of Exchange,
we have changed the recommended account name to be Exchange-version specific,
as in "DSAdmin2013",
"DSAdmin2010", "DSAdmin2007", etc.
When following these updated instructions, please substitute your matching
Exchange version number wherever it says "DSAdmin{ExchangeVersion}".
(For example, on Exchange 2010, use "DSAdmin2010".)
Create a group named DSAdministrators
within Active Directory. This group will be granted rights so that
all members of the group can access the databases and mailboxes as
an authorized DigiScope Operator.
STOP:
Ensure the DSAdministrators
group is a Local Admin on:
The Exchange server you want to access.
The machine DigiScope
is installed.
Create a user / service account named DSAdmin{ExchangeVersion}.
Create a mailbox for the DSAdmin{ExchangeVersion}
account.
Add DSAdmin{ExchangeVersion}
to the DSAdministrators
group.
Add any other existing accounts you want be DigiScope Operators to the DSAdministrators group and:
Ensure that each member of the DSAdministrators
group has an active Exchange mailbox.
However, before adding a member consider the following:
Members of multiple groups will have overlapping
layers of security which imposes Least-Privileged
User (LUA) restrictions on that account. Therefore,
even though the DSAdministrators
group will be given explicit rights to have full access to
all mailboxes, a member’s LUA may restrict their ability to
fully operate DigiScope.
If a member of the DSAdministrators
group has issues operating DigiScope, try using the DSAdmin account instead.
If the DSAdmin account
works without error, then the issue is probably due to LUA
on the other account.
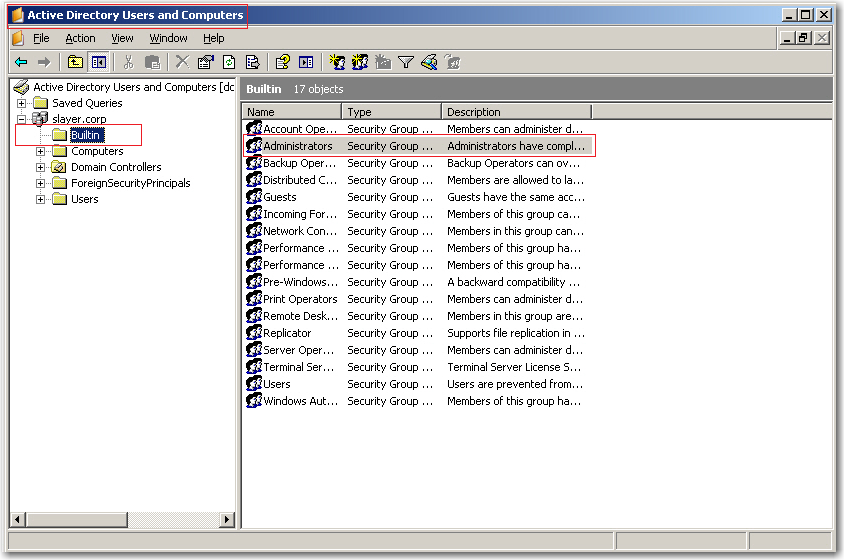
Adding the DSAdministrators to the Builtin and Local Administrators
Group
The DSAdministrators account
is utilized while interacting with production Exchange server and therefore
must be a member of the Local Administrators
group on all Exchange servers that will be used by DigiScope.
It must also be a member of the Builtin\Administrators
group on the domain controller. To ensure proper operation:
Add the DSAdministrators
account to the Local Administrators
group on:
All Exchange
servers that DigiScope
will interact with.
Add the DSAdministrators
account to the Builtin\Administrators
group within Active Directory.
NOTE: This
permission is required to restore a deleted mailbox to a default or
alternate database.
Granting Rights to the DSAdministrators Group
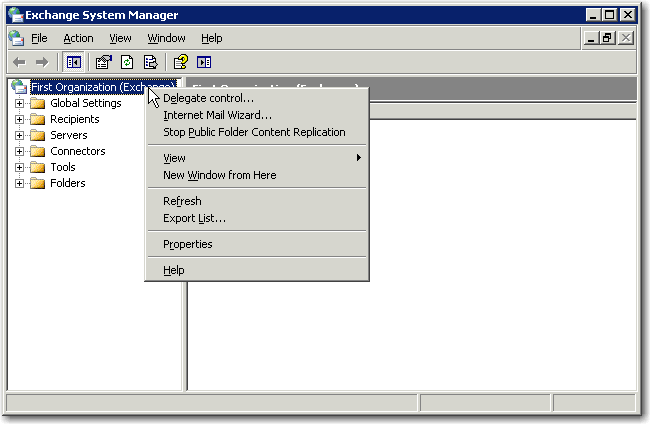
Open the Exchange
System Manager.
Right click on the Organization
and select Delegate Control....
The Exchange Administration
Delegation Wizard appears.
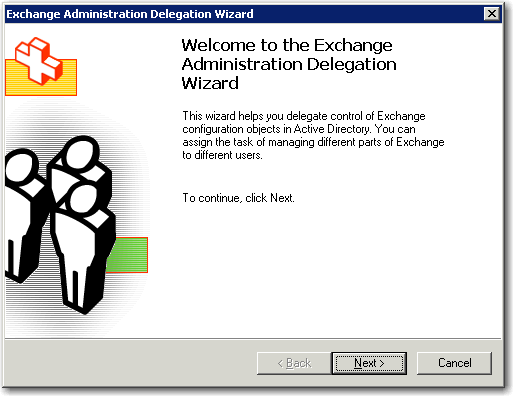
Click Next,
the Users or Groups selection
dialog appears.
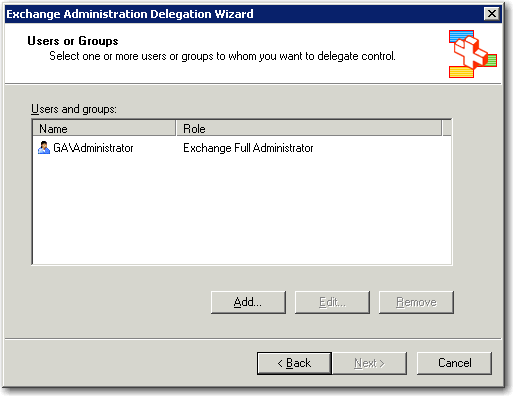
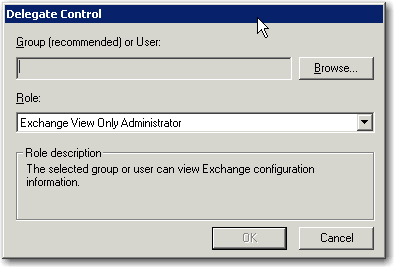
Click the Add...
button, the Delegate Control
dialog appears.
Click the Browse...
button, the Select Users, Computers
or Groups dialog appears.
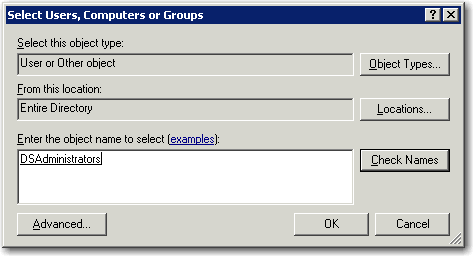
Type in the name of the group / user you want to add
permissions to.
Click Check Names.
Once you have finished adding the desired group /
user names, Click OK.
You will be returned to the Delegate
Control dialog and the Group
(recommended) or User field is populated.
Click the Role
field drop down and select Exchange
Full Administrator.
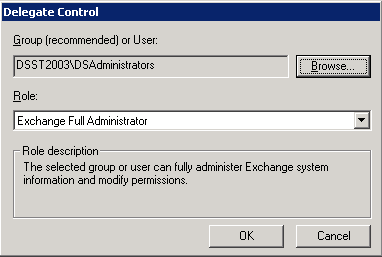
Click OK,
the updated Users or Groups Selection
dialog appears.
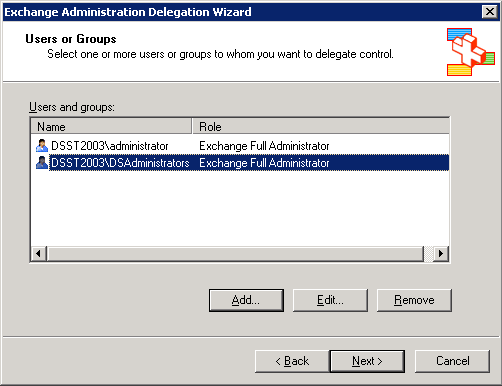
Click Next,
the Exchange Administration Delegation
Wizard Completion dialog appears.
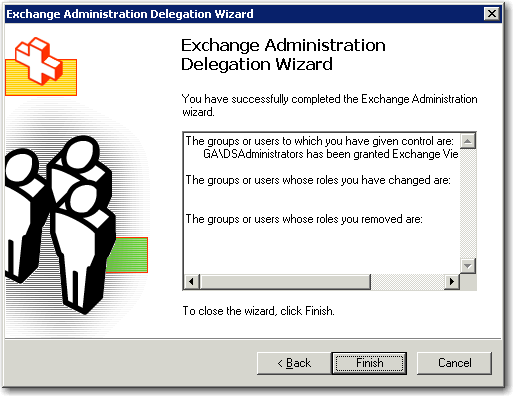
Click Finish.
Continue to Exchange
Maximum Allowed Sessions Per User