Click on the START or Windows button and type PowerShell
Right click on "Windows PowerShell" and select "Run as administrator"
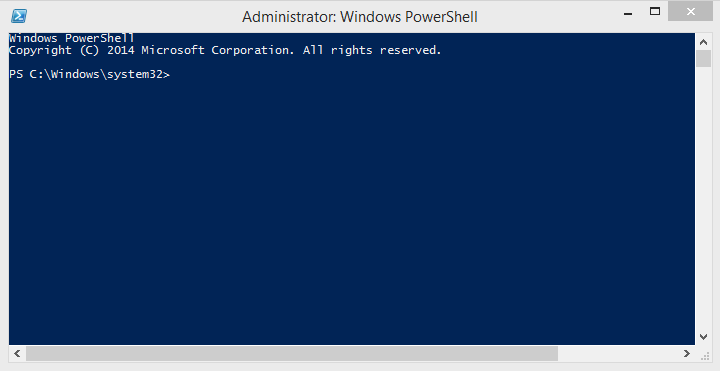
The PowerShell Window Opens
The most powerful way to manage Office 365 is by using PowerShell, which is a command line interface that connects to Office 365 via the Internet. While at first glance it may seem overwhelming to those unfamiliar with working with the Command Line, it really isn’t as hard as it looks. This documentation will guide you through the steps of using PowerShell to grant the DSAdmin365 or equivalent account full permissions to ALL mailboxes within your office 365 environment by taking the actions outlined below.
NOTE: If in the future you add more mailboxes to your Office 365 environment you will need to repeat this process so that the DSAdmin365@yourdomain.com is granted rights to the new mailboxes
If you have not used PowerShell on your computer previously OR if you experience issues when running the PowerShell commands then the first step is to ensure your computer is enabled to use PowerShell by:
Validate that you have .NET Framework Version 4.5.2 or later installed by following the instructions in this link https://msdn.microsoft.com/en-us/library/hh925568%28v=vs.110%29.aspx?f=255&MSPPError=-2147217396
Downloading tools from the Microsoft website using this link http://technet.microsoft.com/en-us/library/jj151815.aspx
You will need to start PowerShell as the Administrator and the easiest way to accomplish that is to do the following
Click on the START or Windows button and type PowerShell
Right click on "Windows PowerShell" and select "Run as administrator"
The PowerShell Window Opens
You can either type commands into the PowerShell CLI or use Copy & Paste which makes things much easier
Copy a command from this documentation by simply highlighting the entire command and use CTRL+C or right click and select copy.
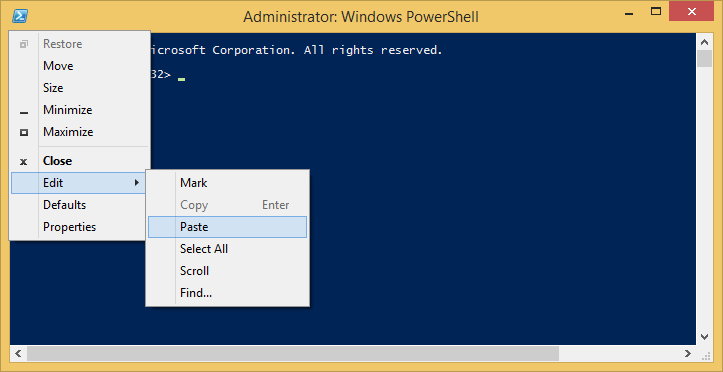
Paste the copied information into the PowerShell CLI by clicking the upper left of the window and select Edit/Paste as shown below
For each of the commands listed below, either type or copy and paste the content that comes after "Command:" into PowerShell, hit ENTER and if present follow any bulleted instructions under each command.
NOTE: if you enter a command incorrectly it will return a verbose error in red. To clear the error or previous command and result simple type CLS and hit ENTER
Command: Set-ExecutionPolicy RemoteSigned
Select yes as the answer
Command: $session = New-PSSession -ConfigurationName Microsoft.Exchange -ConnectionUri "https://outlook.office365.com/powershell-liveid/" -Credential $cred -Authentication Basic -AllowRedirection
The Windows PowerShell Credential dialog appears 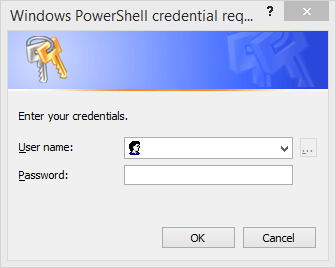
Enter your DSAdmin365 @<your domain>.com (or its equivalent) account credentials and click OK
NOTE: if the credentials are accepted the CLI will do line return, however if the credentials are refused/incorrect it will return a verbose error in red
Command: Import-PSSession $Session
NOTE: The above command imports the office365 commands into PowerShell similar to launching a PowerShell for Exchange
Command: Get-Mailbox -ResultSize unlimited | Add-MailboxPermission -User DSAdmin365@yourdomain.com -AccessRights FullAccess -InheritanceType all
Replace the yellow highlighted text in the above command with your actual DSAdmin365 user name, for example for the fictitious HelpMeCorp used in our documentation it would be DSAdmin@HelpMeCorpOnMicrosoft.com
NOTE: If in the future you add more mailboxes to your Office 365 environment you will need to repeat this process so that the DSAdmin365@yourdomain.com is granted rights to the new mailboxes
Return to Method 2: Grant Permissions to All Office 365 | Exchange Online Mailboxes via PowerShell