The EULA dialog appears.
Read the entire agreement. Use the scroll bar to move through the text.
If you agree with the terms of the EULA, click the
I accept the terms in the license
agreement radio selection.
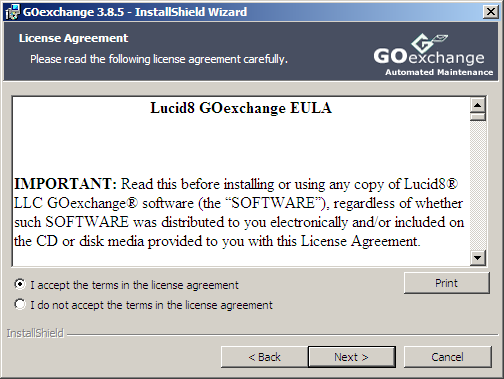
Click Next to continue.
The Installation
Features dialog appears.
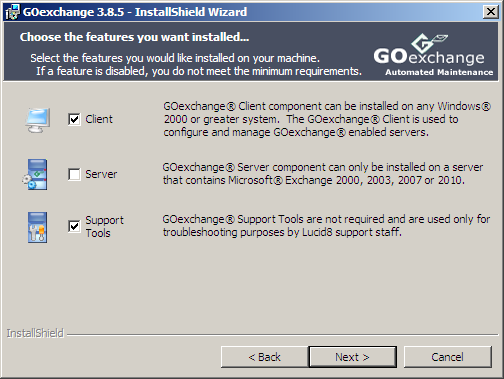
Choose the option for Client.
Support Tools for GOexchange
are selected by default, and we recommend that you install these tools
since they are small in size and, should you need assistance from
Lucid8 Support staff, they will be readily available.
Click Next.
The Customer Information
dialog appears.
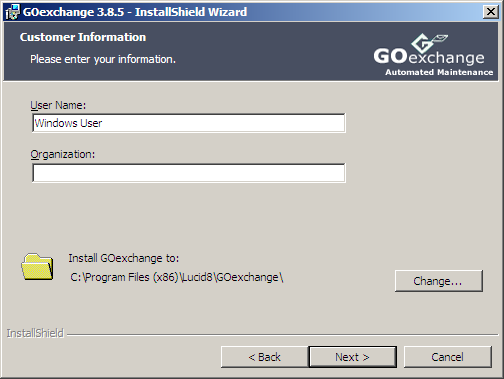
Enter the appropriate User Name and Organization information.
You may change the default folder location where the Wizard installs GOexchange® by clicking the Change button and selecting the desired install drive letter and folder path.
Click Next, the GOexchange Readme dialog appears.
The GOexchange Readme dialog contains valuable, up-to-date information about the current release of the software to be used in conjunction with the GOexchange® help file, therefore please take a few moments to review this information.
When you have finished reading, click Next.
The Ready to Install
dialog appears.
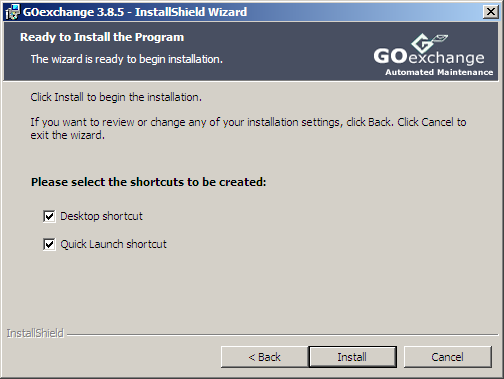
Select the desired shortcut options, click Install,
and the installation process will begin.
Once completed, the successful install dialog will
appear.

Click Finish. The installation process is complete.