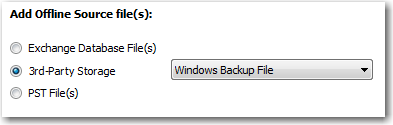
Check the 3rd-Party Storage option and select Windows Backup File from the drop-down menu. Then, click the Next > button to continue.
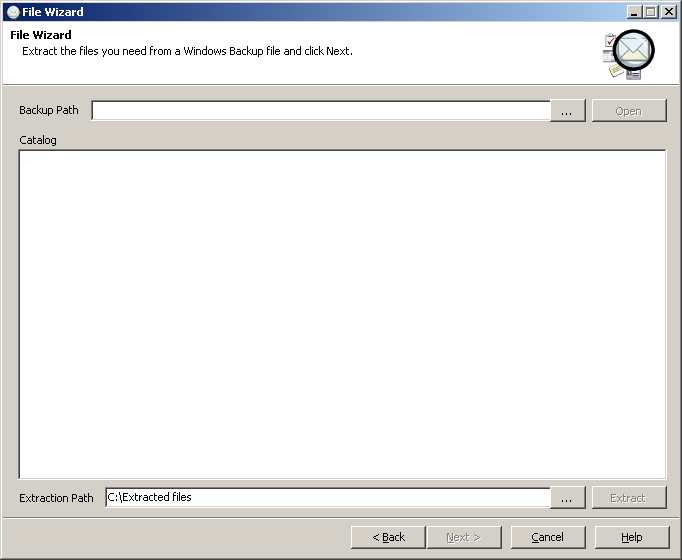
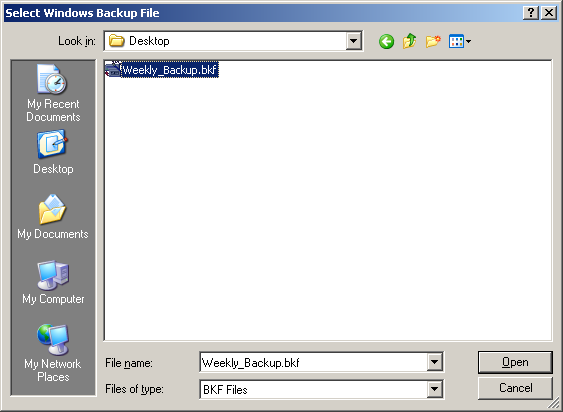
Click the Backup Path ellipsis  button and you will be prompted to select the Windows Backup File (BKF) you wish to open. Navigate to the location of the desired Windows Backup File (BKF) and select the BKF file to continue.
After the File Wizard opens the selected Windows Backup File (BKF), the backups that are available for extraction should now be displayed in the Catalog area. Check the backups you wish to check, then select an Extraction Path to extract the backup files to by typing it in or using the Extraction Path ellipsis button to choose a new path. Now, click the Extract button to start extracting the backup files.
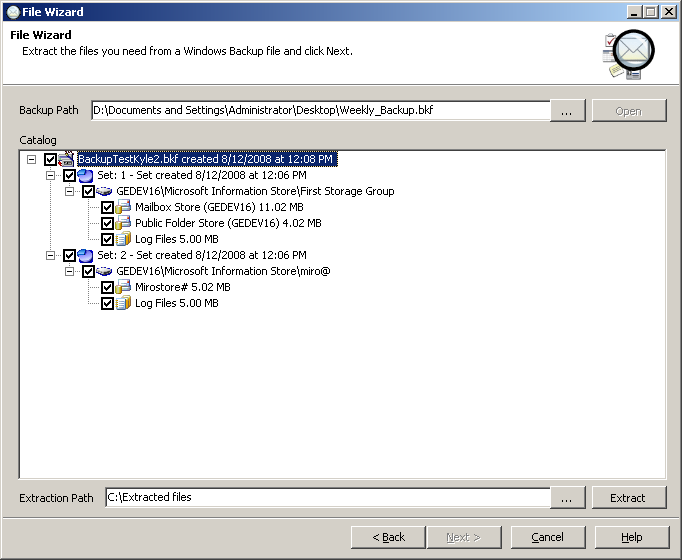
The File Wizard will now extract the backup files you selected.
Next, you will continue with the File Wizard as if you were adding the Exchange Database (EDB) files normally. Now, continue to Adding Exchange Files.