Name your template by typing a description in the Name field. We recommend that the name reflect the intended Event trigger.
In the Event drop-down, choose the event that will trigger the e-mail notification.

Notification Templates are defined in the Message Event Template dialog.
The Message Event Template dialog can be accessed from the New..., Edit..., Copy..., and Import commands of the Notification Templates window.
Alternately, the New... command on the Notifications page of the job specification dialog can be used to bring up the Message Event Template dialog for a new template.
Name your template by typing a description in the Name field. We recommend that the name reflect the intended Event trigger.
In the Event drop-down, choose the event that will trigger the e-mail notification.
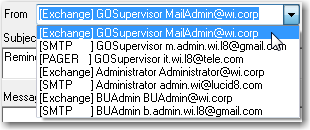
In the From drop-down, select the sender's name that will appear in the message's "From" field.
The e-mail addresses in the From list represent the Exchange e-mail, SMTP e-mail, and SMTP Pager addresses entered for all Operators.
If none of these addresses is appropriate, you may type in a custom e-mail address for this template.
Optional: In the Attachments drop-down, select "Report" if you want to attach a Job Report to the message.
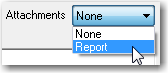
NOTE: The Report option is only available for Scheduled Resource Check and Maintenance Finished notifications.
Enter the Subject of the e-mail. We recommend that the subject reflect the intended event trigger.
In the Message Body, enter any comments or notes that you wish to have in the e-mail message body.
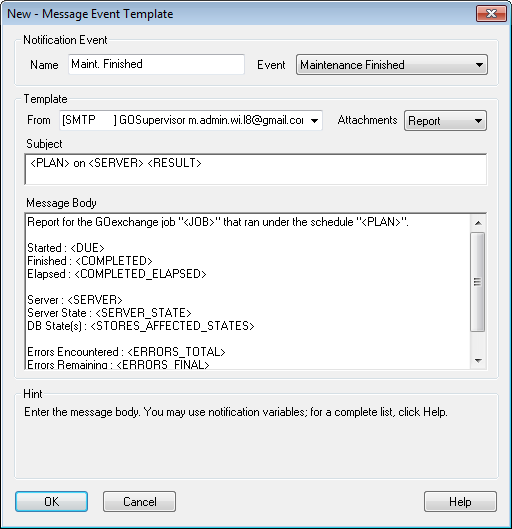
HINT: Notification Variables are available within the Subject or Message Body fields. These variables allow the user to customize notification messages to include details regarding the Maintenance Job. Access the Notification Variables by typing a left angle bracket (<).
Click OK to save your notification template.
Back to: Managing Notifications